Quick Summary:
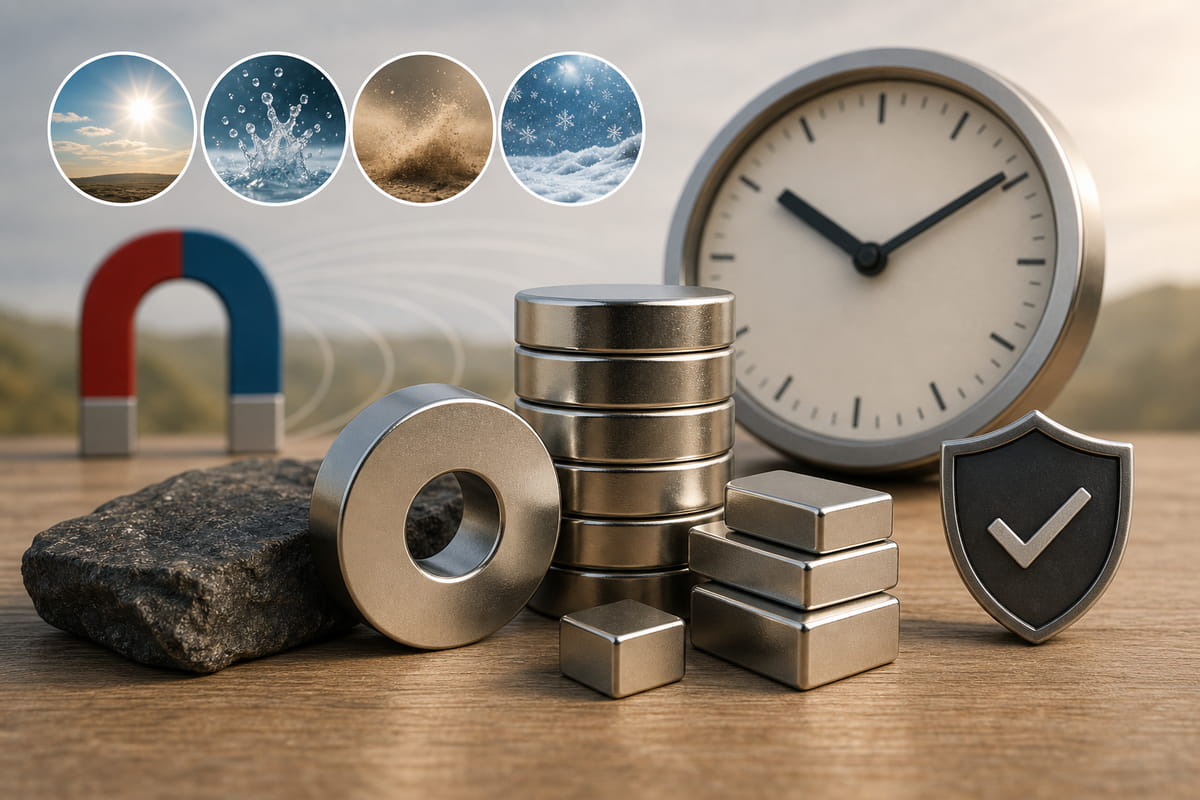
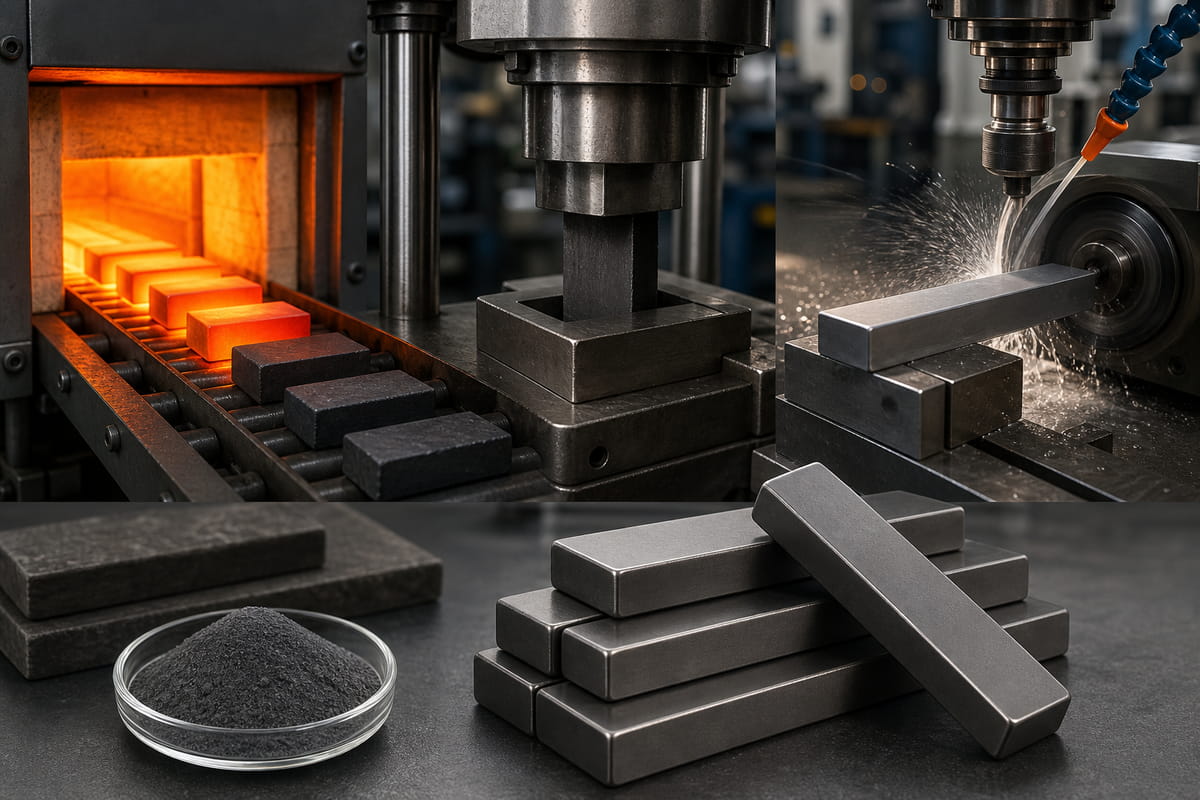
- Bar magnets are made by melting raw materials into an alloy, casting or pressing them into shape, then exposing them to a massive electrical pulse to align magnetic domains.
- The process differs by material: Alnico uses casting, while neodymium uses powder sintering and requires protective coating to prevent rust.
- Key limitations: magnets are brittle, lose magnetism if dropped or heated, and home-made versions (via the stroke method) are weak and temporary.
Ever wonder how that small bar magnet in your lab kit—or even your fridge—gets its superpowers?
Most people think magnets are just… magnetic. Like, they’re born that way.
Nope.
A bar magnet starts as a simple slab of metal. No magnetic field. No attraction to anything. Just a boring piece of iron or steel.
But after a few specific steps—melting, shaping, and a massive electrical jolt—that slab turns into a permanent magnet that can lift 10x its own weight.
In this article, as a professional custom bar magnets manufacturer, let me show you exactly how it happens.
What Is a Bar Magnet?
A bar magnet is a rectangular piece of ferromagnetic material. Think iron, steel, Alnico, or even neodymium. It has two poles—north and south—and produces a consistent magnetic field.
The key word here is permanent.
Unlike electromagnets (which need electricity), bar magnets keep their magnetism for years. Decades, even.
But here’s the thing: not all bar magnets are created equal. The material you use dictates the strength, durability, and cost.
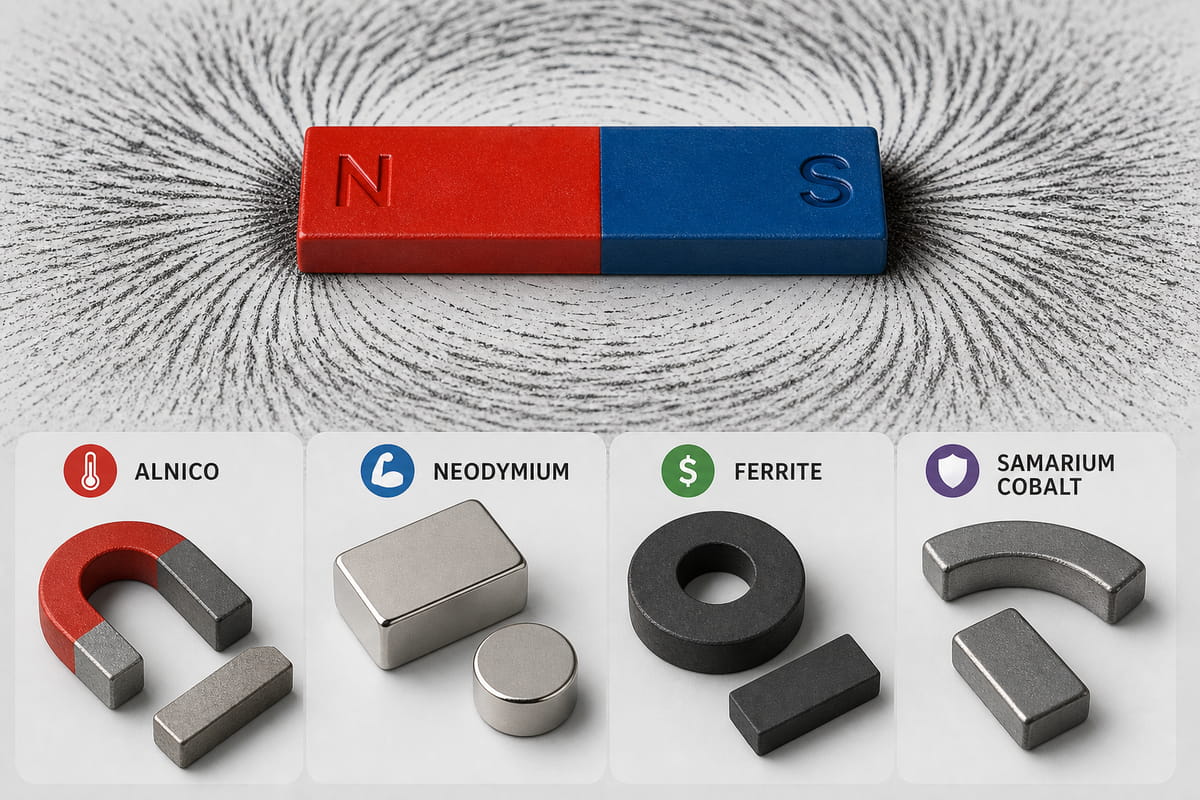
Here are the most common types:
- Alnico (Aluminum-Nickel-Cobalt): Heat-resistant. Strong. Used in motors.
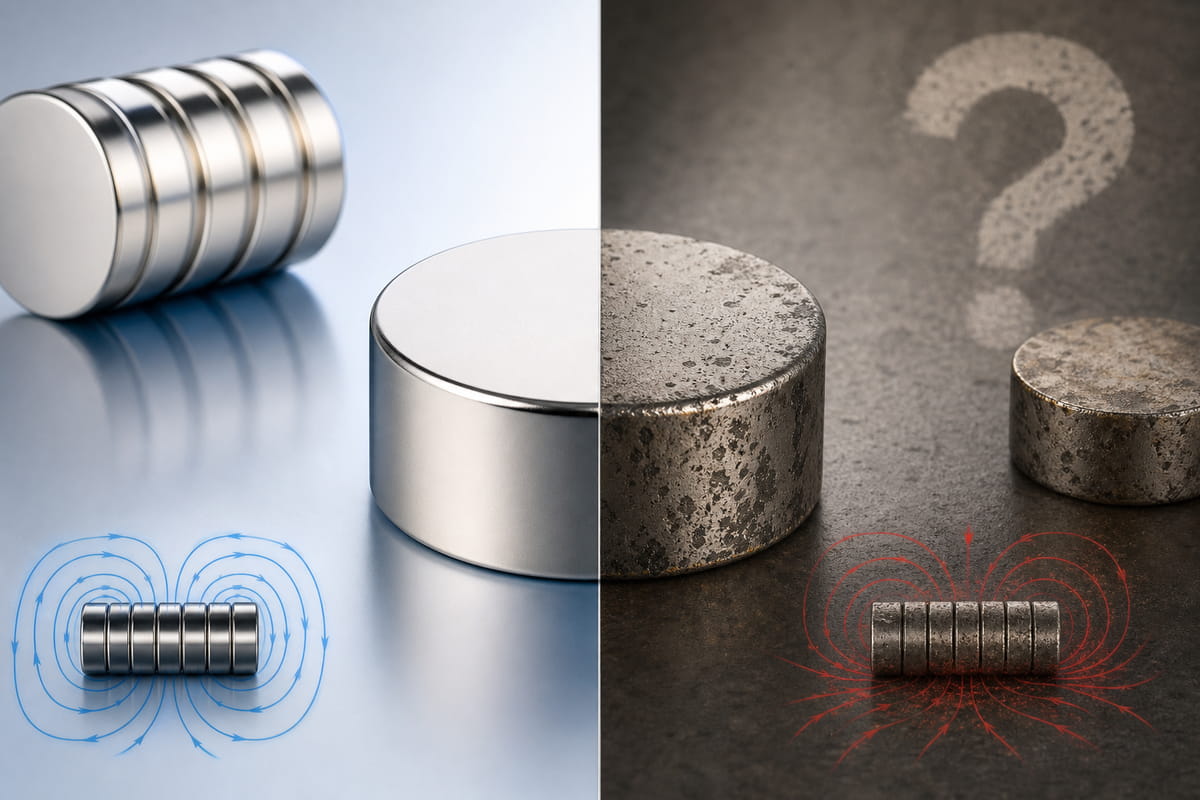
- Neodymium (NdFeB): The strongest permanent magnet known to man. But brittle.
- Ferrite (Ceramic): Cheap. Weak. Found in fridge magnets.
- Samarium Cobalt (SmCo): Handles extreme temperatures. Corrosion-resistant.
Now, let’s dive into the actual manufacturing process.
How Are Bar Magnets Made?
Step 1: Raw Materials and Melting
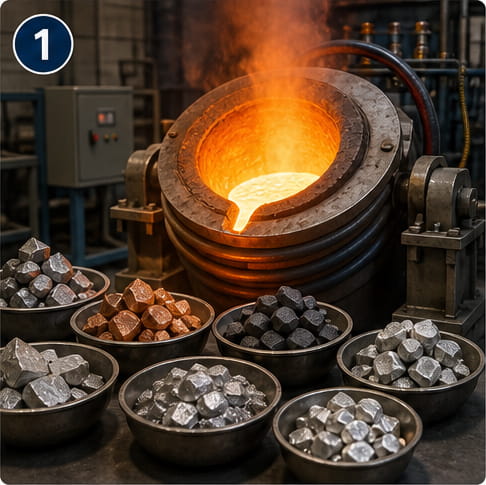
It all starts with a recipe.
Pro Tip: The exact mix of metals determines the magnet’s final strength. This isn’t guesswork—it’s precise metallurgy.
For an Alnico bar magnet, you’re looking at:
- Aluminum
- Nickel
- Cobalt
- Iron
- Copper (sometimes)
- Titanium (sometimes)
For a neodymium bar magnet:
- Neodymium
- Iron
- Boron
These raw materials get dumped into an electromagnetic induction furnace.
Sound good? Let’s talk temperatures.
The furnace heats the metals to over 1,600 °C (that’s nearly 3,000 °F). Everything melts into a glowing, liquid soup.
In my experience, this is the most dangerous step. The liquid metal is so hot that it can burn through concrete. Workers wear full protective gear. No shortcuts.
Step 2: Casting or Pressing the Shape
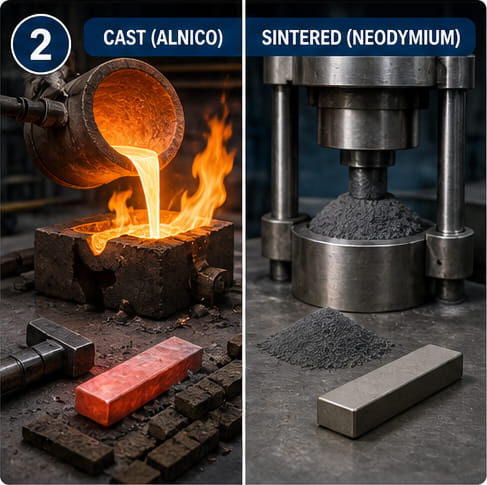
Once the alloy is molten, you need to give it a shape.
This is where the process splits depending on the material.
For Cast Magnets (Alnico)
The molten metal gets poured into sand molds or chill plates.
Here’s something wild:
When the liquid metal hits the sand mold, the sand catches fire. The gases in the hardened sand are flammable. So you’ll see flames shooting out of the mold. Completely normal.
After a few minutes, the metal cools enough to hold its shape. Workers use hammers to break open the mold. The metal bar is still hot, but it’s solid.
But here’s the deal: at this stage, the bar has zero magnetism. It’s just a hunk of metal.
For Sintered Magnets (Neodymium, Ferrite, SmCo)
For these, the process is different.
The alloy is crushed into a super-fine powder. We’re talking particles 3 to 7 microns in diameter. That’s smaller than a human hair.
This powder is chemically reactive. It can actually ignite in air. So it’s handled in an inert gas atmosphere (like argon).
Then, the powder gets pressed into a mold under extreme pressure. Think hydraulic presses that squeeze the powder into a bar shape.
The result? A “green” magnet—dense but not yet magnetic.
Step 3: Sintering (For Advanced Magnets)
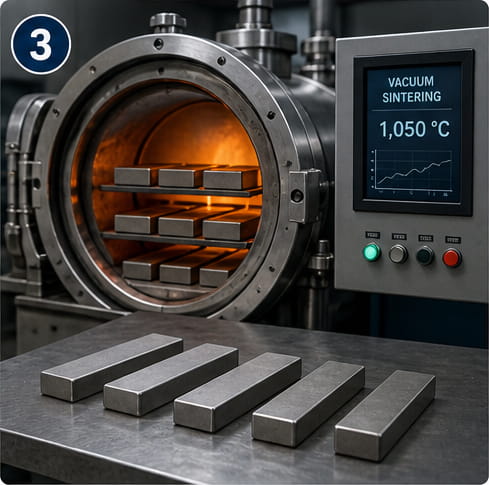
This step only applies to neodymium, samarium cobalt, and ferrite magnets.
The pressed powder bars go into a vacuum sintering furnace.
The temperature climbs to just below the melting point. The particles fuse together. The bar shrinks by about 15–20% linearly.
Pro Tip: During sintering, the magnet has a rough surface and no external magnetic field. It still looks and acts like a regular piece of metal.
After sintering, SmCo goes through an extra step called solutionizing. Think of it as a “reset” for the crystal structure.
Then, both materials get a lower-temperature tempering treatment. This relieves internal stress and stabilizes the material.
Step 4: Magnetization
Now we get to the magic.
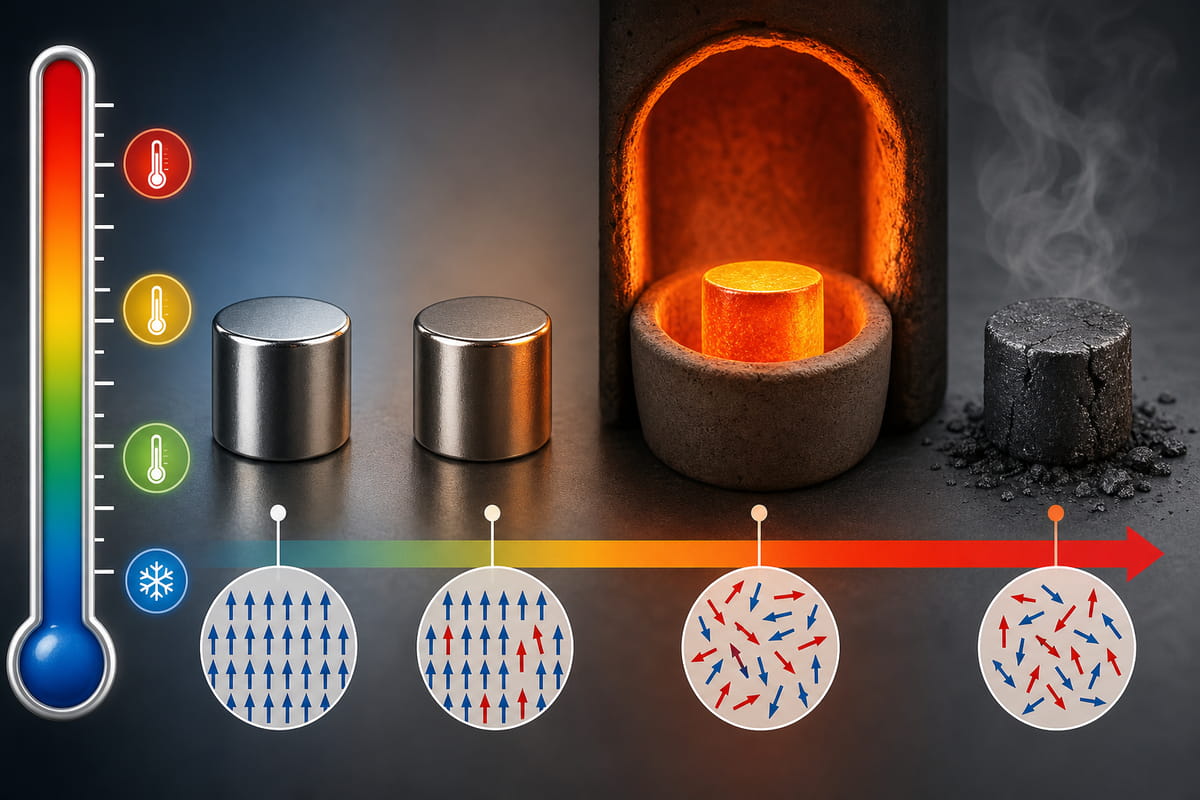
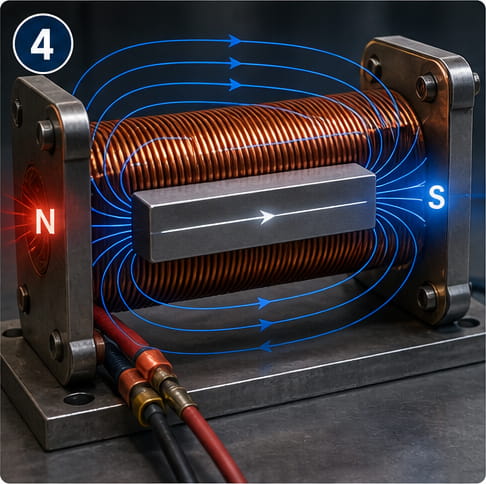
The bar is still not magnetic. All those tiny magnetic regions inside—called domains—are pointing in random directions.
To fix that, you need a magnetizing machine.
Here’s how it works:
The bar is placed inside a solenoid (a big coil of wire). A massive electrical current—tens of thousands of amperes—fires through the coil.
This generates an incredibly strong magnetic field.
The field forces all the domains to align in the same direction. North poles face one way. South poles face the other.
Boom. Permanent magnet.
In my experience, this step is over in a split second. But the energy involved is enormous. Capacitors charge up with high voltage, then dump everything into the coil in a single pulse.
Step 5: Finishing and Coating
The magnet is now magnetic. But it’s not ready for the real world yet.
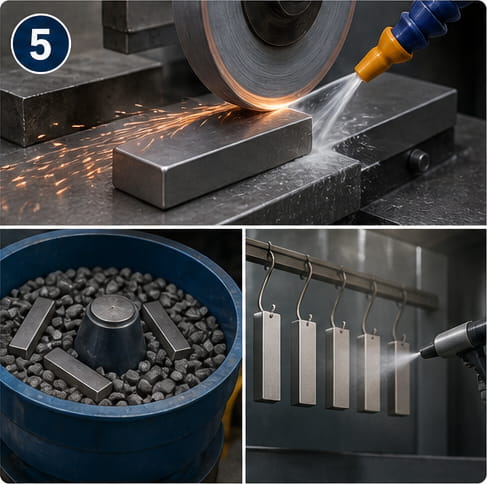
First, it needs to be machined to the right dimensions.
This is tricky.
The magnet material is brittle and hard—like Rockwell C 57 to 61. That’s harder than most steel.
So you can’t use regular cutting tools. You need diamond grinding wheels or EDM machining.
Workers grind the surfaces smooth. They cut the bar to the exact length and width. They remove sharp edges using a vibratory tumbler filled with abrasive media.
Then, coating.
Why?
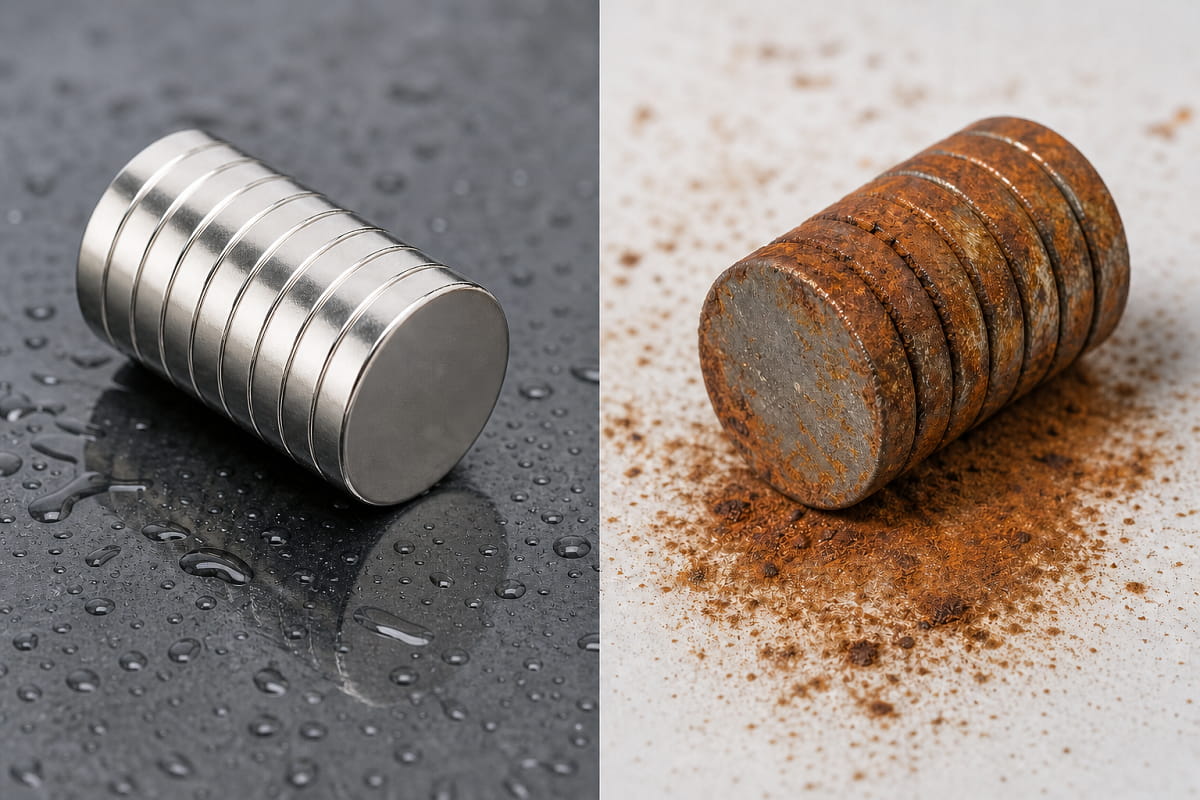
- Neodymium magnets rust. Badly. They need protection.
- SmCo magnets are more resistant, but still benefit from coating.
Common coatings include:
- Epoxy (dry-sprayed or e-coat)
- Electrolytic nickel
- Aluminum IVD (Ion Vapor Deposition)
- Zinc, iron, or manganese phosphates
Here’s the bottom line: Without coating, a neodymium bar magnet can turn to powder in a humid environment. Don’t skip this step.
Step 6: Stabilization and Calibration
Some magnets need one more step.
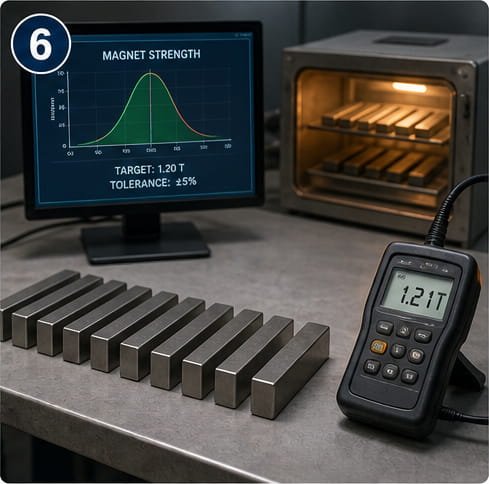
Stabilization is where you intentionally expose the magnet to high temperatures or reverse magnetic pulses. This “pre-treats” the magnet so it won’t lose strength during normal use.
Calibration narrows the performance range of a batch of magnets. So if you make 1,000 bar magnets, they all have roughly the same magnetic output.
This is especially important for industrial applications—like sensors and motors—where consistency matters.
How to Make a Simple Bar Magnet at Home
Let’s switch gears.
You don’t need a factory to make a bar magnet. You can do it at home.
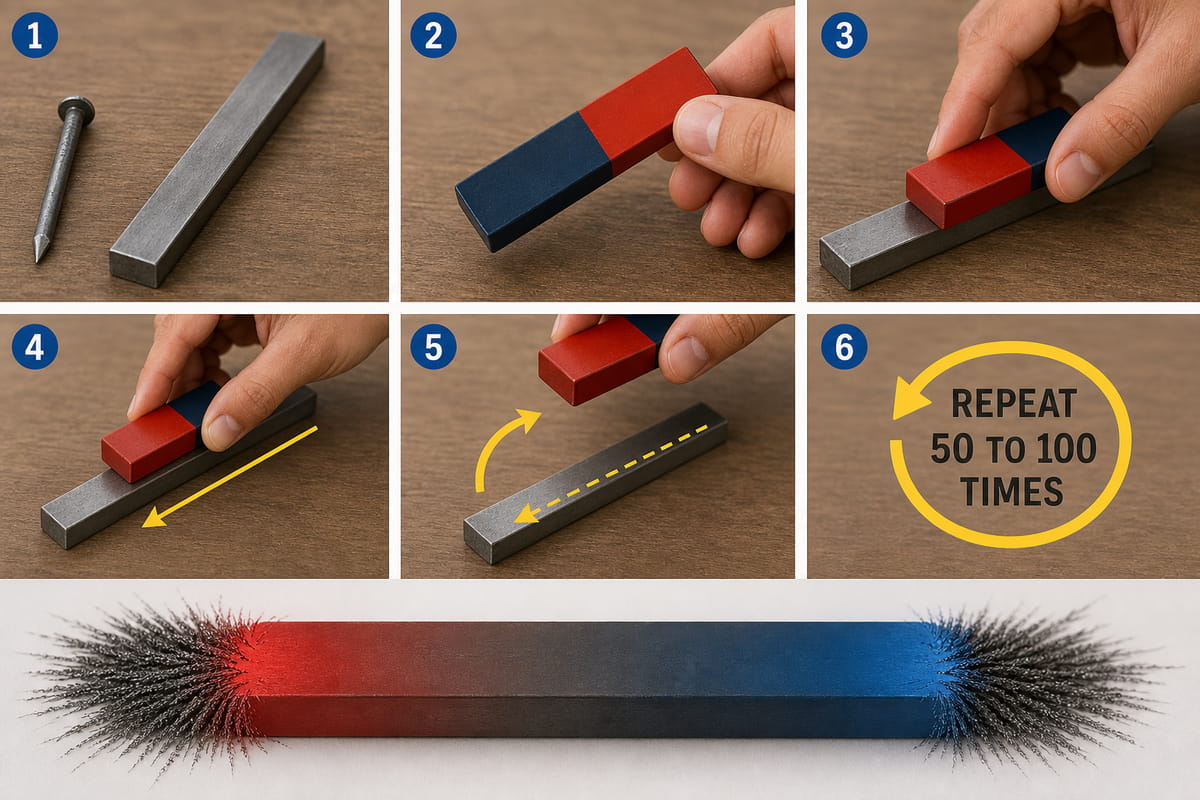
Here’s the stroke method:
- 1. Grab an unmagnetized steel bar or large iron nail.
- 2. Take a permanent bar magnet (one that’s already strong).
- 3. Hold one pole of the magnet flat against the steel bar.
- 4. Stroke the magnet down the entire length of the bar in one direction.
- 5. Lift the magnet off at the end. Bring it back to the starting point.
- 6. Repeat 50 to 100 times.
What’s happening here?
Each stroke aligns more magnetic domains inside the steel. After enough repetitions, the domains stay aligned. You’ve created a temporary bar magnet.
But here’s the thing: this method only gives you a weak magnet. And it’s temporary. Drop it on the floor or heat it up, and you’ll lose the magnetism.
For a permanent, industrial-strength magnet, you need the full manufacturing process I described above.
Common Mistakes People Make About Bar Magnets
Let me clear up a few things.
Myth #1: Magnets are magnetic forever. False. Heat, drops, and strong opposing fields can demagnetize a bar magnet. That’s why stabilization exists.
Myth #2: You can separate the north and south poles. Nope. Break a bar magnet in half, and each piece becomes its own magnet with both poles. You can never isolate a single pole.
Myth #3: All magnets are made the same way. Wrong. Casting, sintering, bonding, and injection molding are all different processes. Each one has pros and cons.
Myth #4: Magnets have radiation. No. A permanent magnet produces a constant magnetic field. That’s not radiation. You’re exposed to magnetic fields from the Earth 24/7.
Real-World Applications of Bar Magnets
You might think bar magnets are just for science class.
Think again.
They’re everywhere:
- Speakers and headphones – Convert electrical signals into sound.
- Electric motors – Found in everything from power tools to electric cars.
- Maglev trains – Use magnetic levitation to eliminate friction.
- MRI machines – Generate strong fields to image the human body.
- Separation equipment – Pull metal contaminants out of food and raw materials.
- Compasses – Align with Earth’s magnetic field.
In fact, if you’re reading this on a laptop or phone, there’s a bar magnet inside your speaker right now.
The Bottom Line
So, how are bar magnets made?
It’s a multi-step process: melt the raw metals, cast or press them into shape, sinter (if needed), magnetize with a massive electrical pulse, machine to size, and coat for protection.
The result? A permanent magnet that can last for decades.
Whether it’s a cheap ferrite bar in your fridge or a super-strong neodymium block in a wind turbine, the principles are the same.
Now I’d love to hear from you:
Have you ever tried making a magnet at home using the stroke method? Or are you planning to use bar magnets in a project?
Drop a comment below. Let’s talk.
And if you found this guide useful, share it with someone who’s always wondered how are bar magnets made. They’ll thank you.