Quick Summary
Neodymium magnets demagnetized due to physical shock or improper storage can often be fixed with the stroking method (one‑direction strokes 10–20 times) or the overnight sandwich method between two strong magnets. But heat damage (above 80–100°C) usually requires an industrial pulse magnetizer or a replacement magnet – DIY methods rarely work.
When you’ve got a neodymium magnet that used to be strong. But now it’s barely holding onto a paperclip.
I’m guessing you’re wondering: How to remagnetize a neodymium magnet without buying expensive industrial equipment.
It’s possible but depends on why your magnet got weak in the first place.
In this guide, as a professional custom neodymium magnets manufacturer, I will break down exactly what works, what doesn’t, and when you should just cut your losses.
Why Your Magnet Died
Before we dive into remagnetizing a neodymium magnet, you need to diagnose the problem.
Neodymium magnets (those shiny silver beasts) lose their strength for three main reasons:
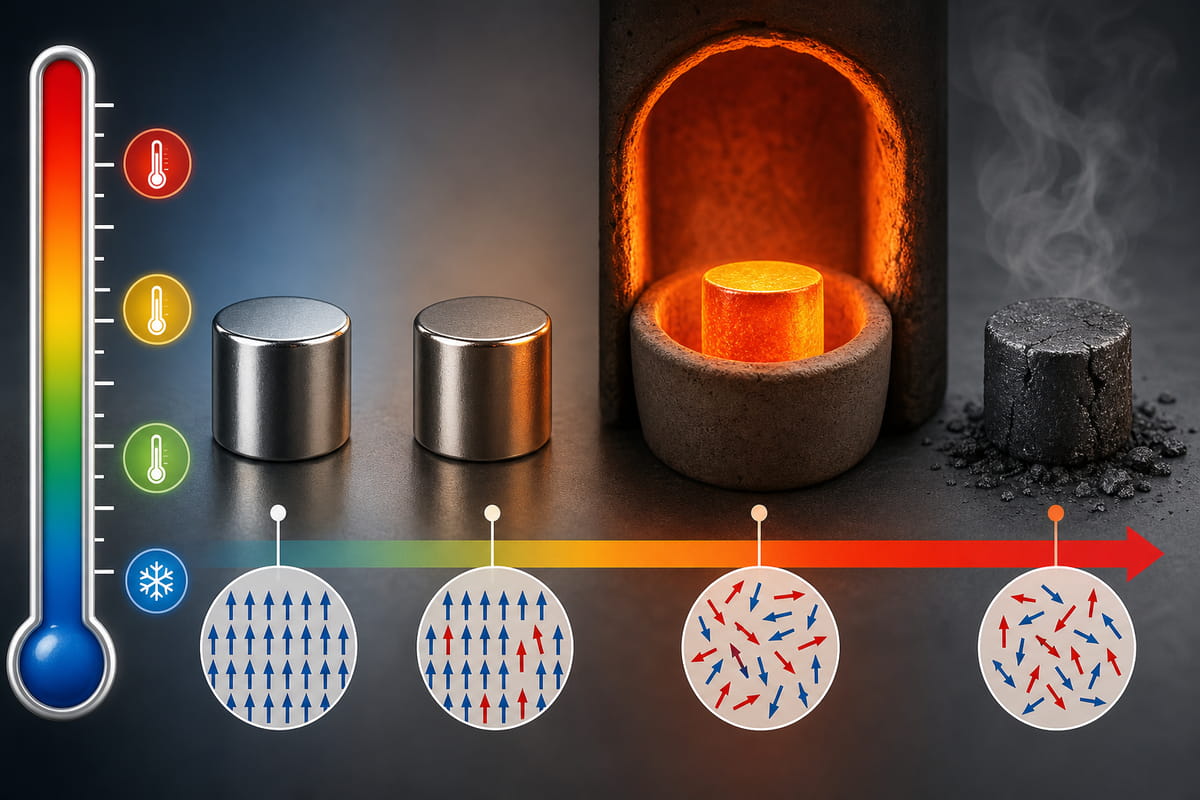
1. Heat – This is the big one. Neodymium magnets have a maximum operating temperature between 80°C and 200°C (depending on the grade). Push past that, and the internal magnetic domains go from organized soldiers to a chaotic mosh pit.
2. Physical shock – Dropping a magnet or letting it slam into another magnet can jostle those domains out of alignment.
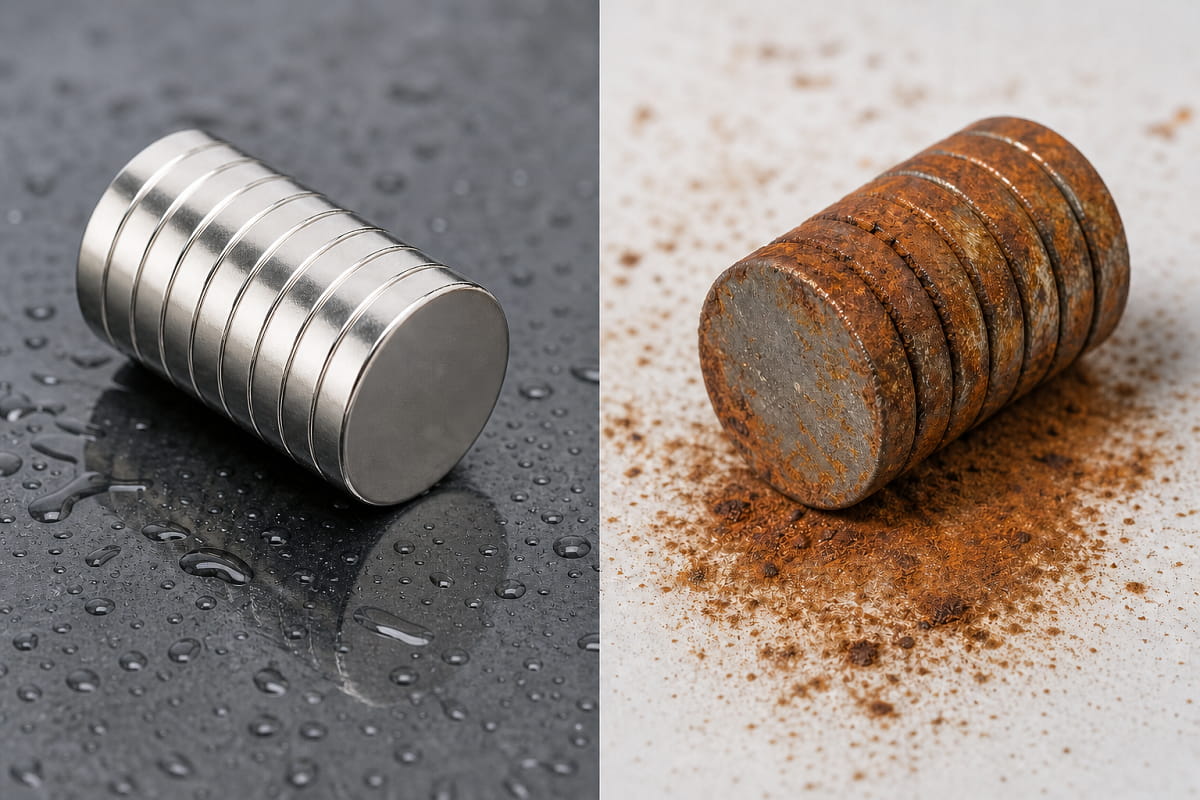
3. Improper storage – Storing magnets with like poles facing each other (north-to-north) creates a constant demagnetizing field.
Here’s the thing: Heat damage is often permanent without industrial equipment. Physical shock? That’s fixable.
Let me show you how.
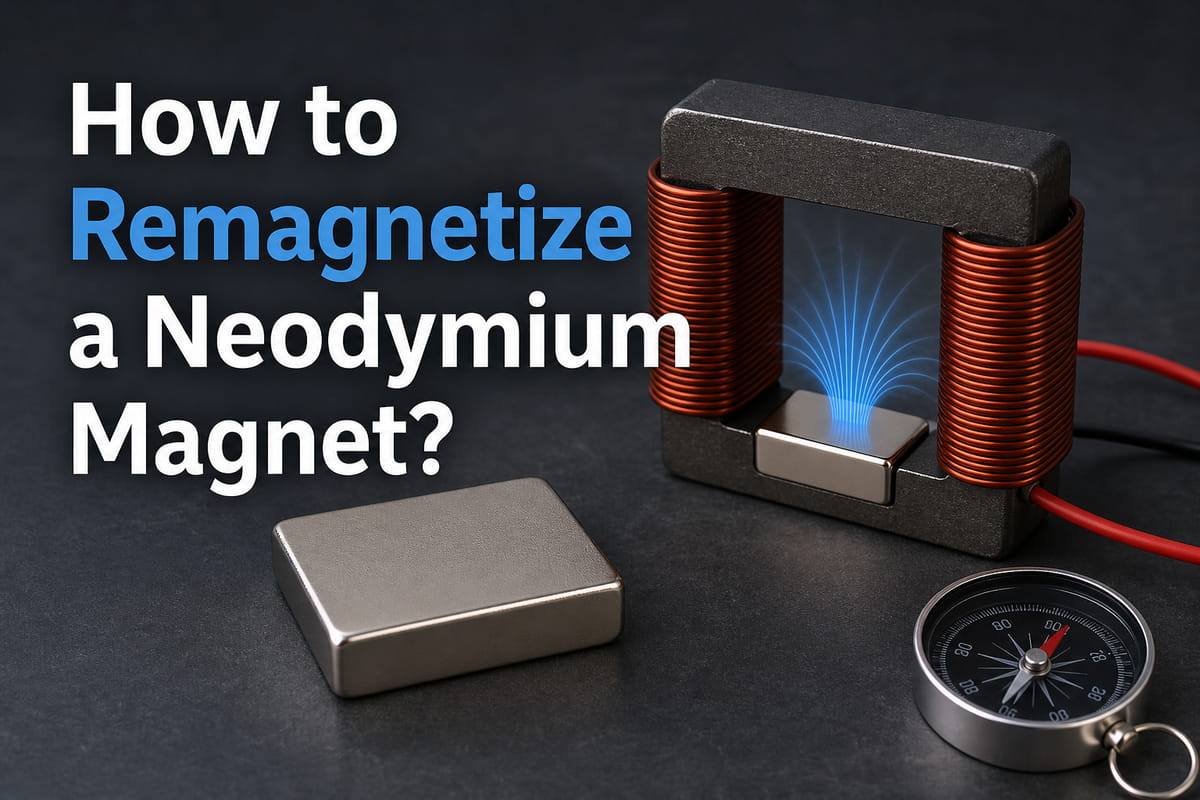
How to Remagnetize a Neodymium Magnet
The DIY “Stroking” Method (For Magnets That Got Knocked Around)
This is my go-to technique when someone asks me how to remagnetize a neodymium magnet that’s been physically shocked but not cooked.
What you’ll need:
- One strong, undamaged neodymium magnet (equal or greater strength than your weak one)
- Your weak magnet
- A compass (optional, but helpful)
Step-by-step:
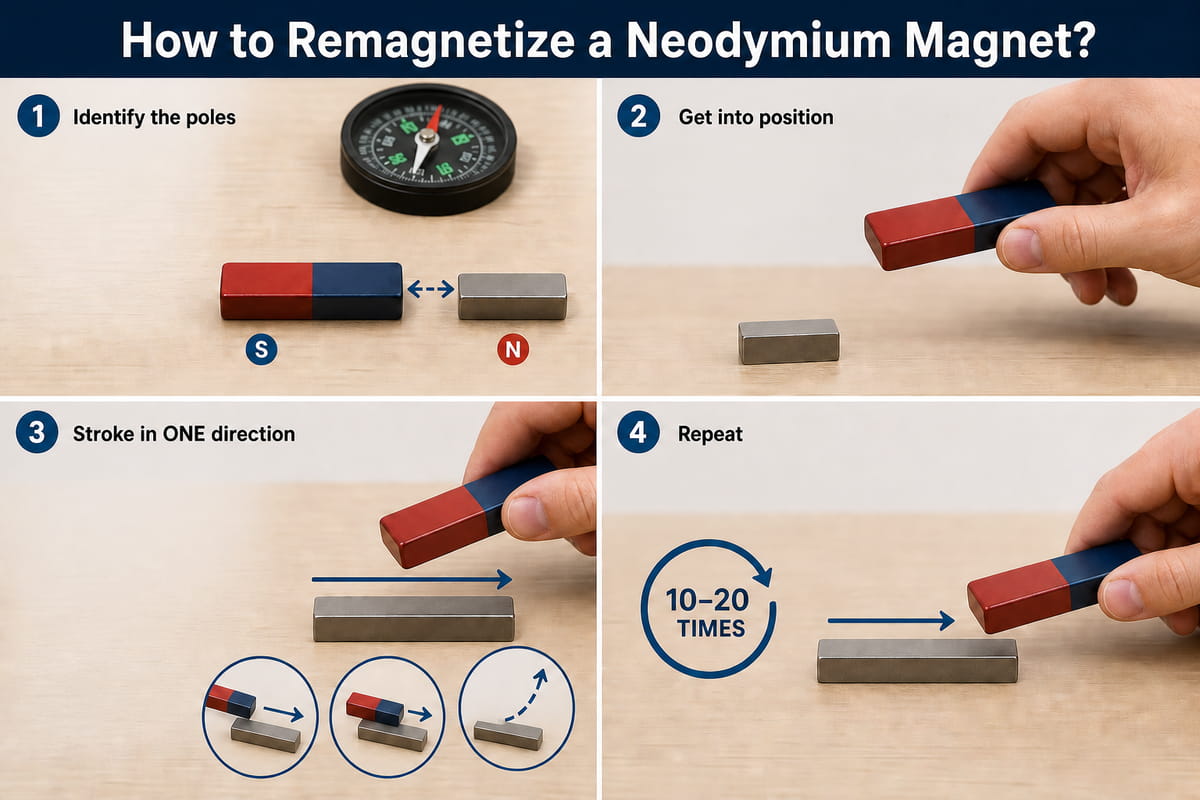
Step 1: Identify the poles
Take your strong magnet and your weak magnet. If there’s still some attraction, you’re in business. Use a compass to figure out which end of your strong magnet attracts the weak one.
Step 2: Get into position
Hold your weak magnet steady on a table. Hold the strong magnet in your dominant hand.
Step 3: Stroke in ONE direction
Here’s where most people mess up. You’re not rubbing back and forth.
Bring the attracting pole of your strong magnet to the opposite pole of your weak magnet. Slowly stroke along the entire length of the weak magnet from one end to the other. When you reach the end, lift the strong magnet AWAY (don’t drag it back).
Think of it like drawing a lowercase “d” in the air. Down along the magnet, up and away.
Step 4: Repeat
Do this 10-20 times. Always in the same direction.
Pro Tip: Use a neodymium magnet that’s at least the same width as the magnet you’re trying to fix. A tiny magnet won’t generate enough field strength to realign those domains.
I’ve used this method successfully on old refrigerator magnets and even some speaker magnets that got knocked around during a move.
The “Sandwich” Method (For Deeper Demagnetization)
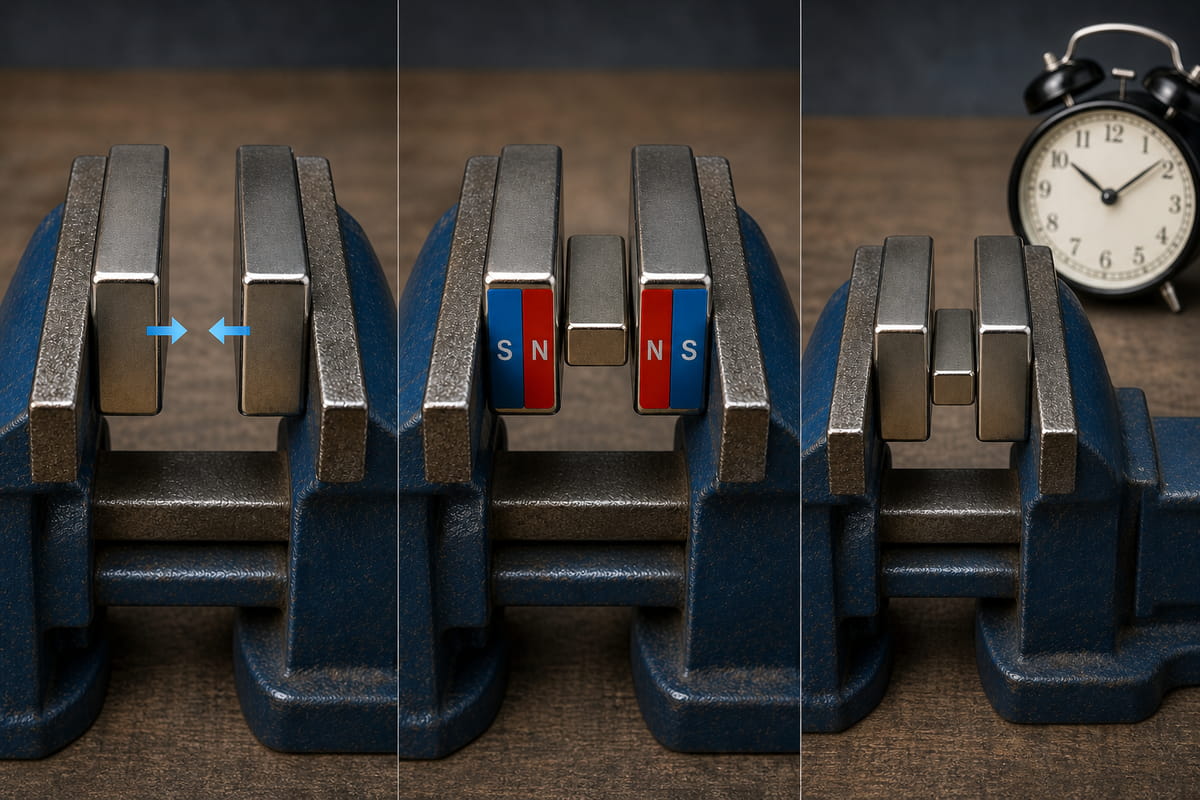
If the stroking method didn’t cut it, here’s another technique for how to remagnetize a neodymium magnet that’s lost significant field strength.
What you’ll need:
- Two strong, undamaged neodymium magnets
- A metal vise or heavy clamps
- Your weak magnet
Step 1: Secure your two strong magnets in the vise so they’re strongly attracting each other. They should be parallel, with a gap just wide enough for your weak magnet.
Step 2: Carefully place your weakened magnet in between them. It should be sandwiched so that opposite poles are facing each other.
Step 3: Leave it there. Overnight is best. I’ve had clients leave magnets sandwiched for 24 hours with great results.
The powerful, continuous external magnetic field forces those lazy domains back into formation.
Does this always work? No. But I’ve seen it bring magnets back to 80-90% of their original strength.
When DIY Won’t Cut It (The Heat Problem)
If your magnet was exposed to high heat (like a 3D printer bed at 100°C+ for an extended period), the stroking and sandwich methods probably won’t work.
Why? Because heat doesn’t just misalign domains – it can permanently alter the magnet’s crystalline structure.
In fact, one Reddit user shared their experience printing magnetic fidget clickers with embedded 6x3mm neodymium magnets. The bed was too hot, and their magnets came out weak. They tried the stroking method. It didn’t help. It actually made things worse.
The bottom line? Heat-damaged neodymium magnets need industrial equipment – specifically a capacitor discharge magnetizer that can generate 3.5 Tesla or more of magnetic field.
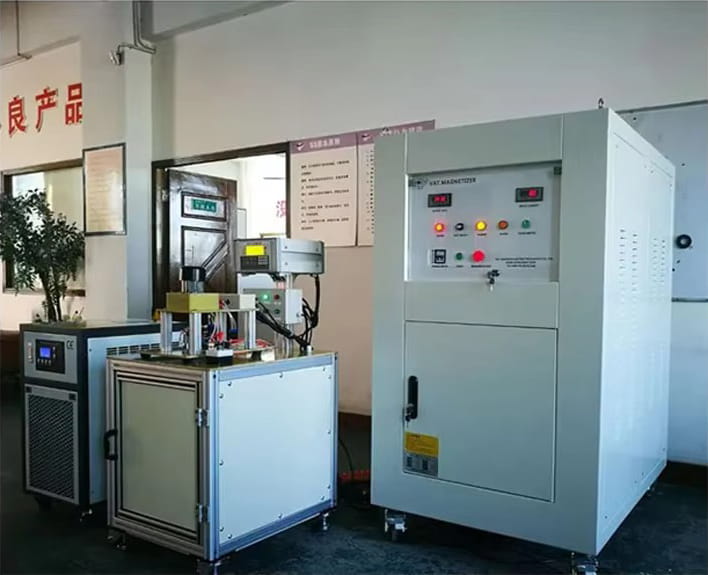
That’s not something you have sitting in your garage.
The Advanced Hack (Microwave Transformer Method)
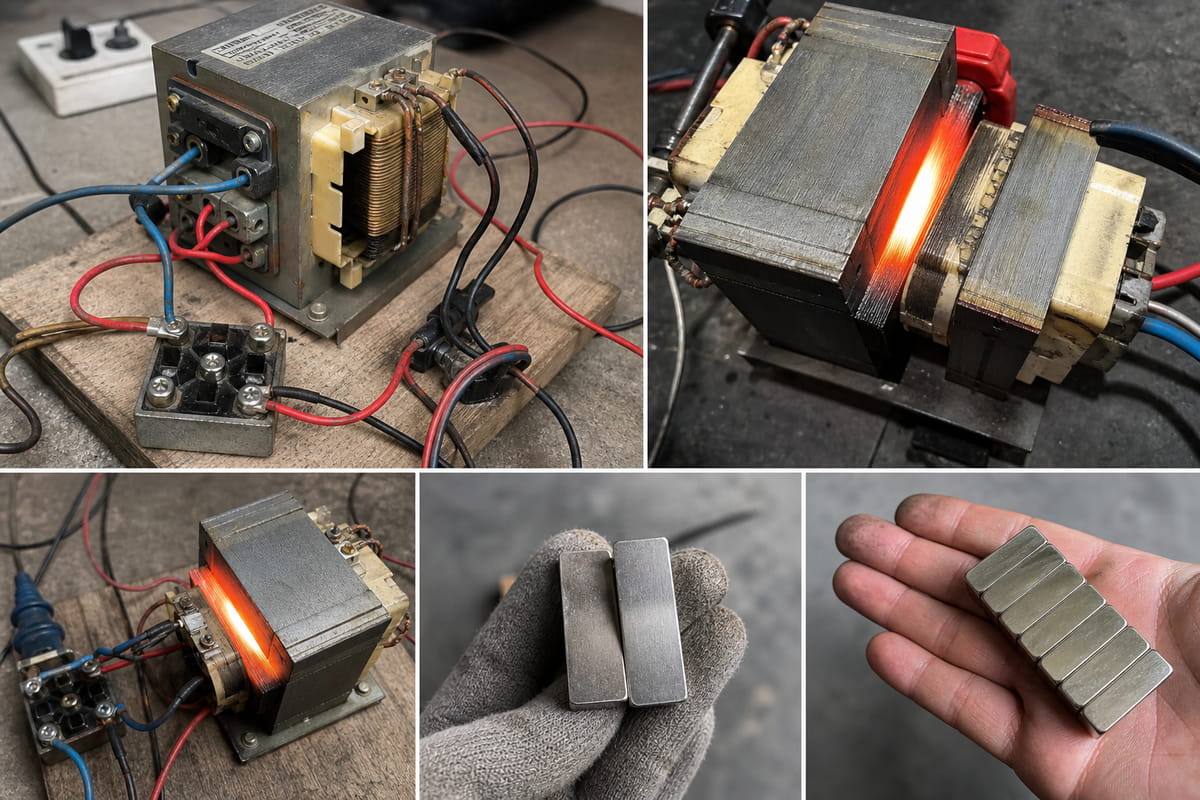
Okay, I’m going to share something that’s a bit out there. But it works.
I came across a forum post from someone who completely restored demagnetized neodymium magnets using:
- A 1kW microwave oven transformer
- A diode bridge
- 220V input (or 110V depending on your location)
Here’s what they did:
They placed the demagnetized magnets between the transformer cores. Then they shorted the high-voltage winding and applied 220V to the primary through a diode bridge. They powered it for 5-10 seconds (the transformer gets HOT, so don’t push it).
Result? They magnetized all their magnets and drove 2,500 km on that restored motor.
Should you try this? Only if you’re comfortable working with high-voltage electronics. This is not beginner-friendly. One mistake and you’re toast.
How to Prevent Demagnetization in the First Place
Look, the best answer to remagnetize a neodymium magnet is: don’t let it get weak to begin with.
Here’s my prevention checklist:
Store magnets properly – Alternate poles (north-to-south). This preserves magnetic strength. Storing them north-to-north creates a constant demagnetizing field.
Watch your temperatures – Basic N35 neodymium magnets start losing strength around 80°C. If you’re embedding magnets in 3D prints, use a cold plate or drop your bed temp after the first few layers.
Use the right grade for the job – Need heat resistance? Look for N42SH or N40UH grades. They can handle up to 180°C and 200°C respectively.
Don’t let magnets slam together – That impact force can misalign domains instantly. Always lower magnets into place gently.
What About Freezing?
I’ve seen people suggest putting magnets in a freezer to “recharge” them.
Does that work?
No.
Cold temperatures actually increase magnetic strength temporarily. But it doesn’t realign domains. And extreme cold won’t reverse heat damage.
So save your freezer space for ice cream.
When to Replace vs. Remagnetize a Neodymium Magnet
Here’s my honest advice on how to remagnetize a neodymium magnet versus buying a new one:
| Situation | Recommended Action |
|---|---|
| Mild demagnetization from physical shock | Try the stroking method |
| Moderate field loss (no heat exposure) | Try the sandwich method overnight |
| Heat damage (above 100°C) | Replace the magnet |
| Cracked or physically damaged magnet | Replace immediately |
| Part of an expensive motor/generator | Contact a professional magnetizing service |
New neodymium magnets are cheap. Like, really cheap. A pack of 50 6x3mm magnets costs less than $10 on Amazon.
Is your time worth more than $10? Probably.
The Bottom Line
So let me wrap this up.
Remagnetizing a neodymium magnet comes down to three paths:
Path 1 (DIY success): Your magnet lost strength from physical shock. Use the stroking method (10-20 strokes in one direction) or the sandwich method (overnight between two strong magnets). You’ll likely see 80-100% recovery.
Path 2 (Heat damage): Your magnet got cooked above 80°C. DIY methods probably won’t work. You need an industrial pulse magnetizer or a replacement magnet.
Path 3 (The hack): You have a microwave transformer and know what you’re doing. That’s your ticket to remagnetizing heat-damaged magnets on a budget.
Here’s what I want you to take away:
Most people asking how to remagnetize a neodymium magnet are better off just buying new ones. They’re inexpensive, and the time you spend trying to revive a dead magnet could be spent on something more productive.
But if you’re determined to fix what you have – or you’re working with a custom assembly where replacement isn’t practical – the stroking and sandwich methods are your best bet.
Just don’t expect miracles from heat-damaged magnets.
Now go check your magnets. Test their strength. And if they’re weak from shock? Give that stroking method a shot.
You might be surprised at what happens.